


Creating A Module
To create a Vision module, open up
XCode after installing the
Vision package. Create a new project and choose Vision>Module
for the template. Many settings that are needed
are already preconfigured.
Corresponding LoadObject() calls must be
placed in the constructor and
destructor functions of the code files to load the modules that contain
the
objects that these classes require. This ensures that when these
modules are loaded that all their dependent modules are also
loaded.
This is shown is the picture to the right. The PanelLabel object
requires both the Panel and Label object and places the function calls
accordingly.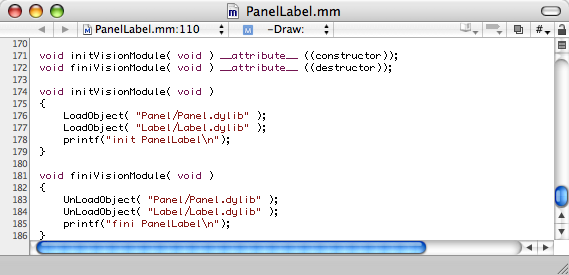
Similar to the process described in how to
create an application, having XCode keep track of project
dependencies helps a lot because it
makes sure that if changes have occurred in a dependent project that
they are rebuilt.
By default, server module targets install themselves into the
repository. If you do not wish this to happen then delete the
shell script run phase that installs it into the repository.
If do you plan on installing this module into the repository be sure to
run the script called "repositoryupdate" (by default installed into
~/Vision/Tools/repository)
once after copying it into the repository. This script updates
the three copies of repository.h found in /usr/local/Vision/Headers
which allows for applications using your new module to not have to
explicitly import any header files that you have created for your
module (other module projects still have to explicitly import them
though).
At this point you simply need to create your desired subclasses and
write
the code for your objects.